If you have been looking for a really wonderful, relatively inexpensive gift, look no further! DIY coasters are such a great, thoughtful gift that you can make in bulk for any occasion. With just a few supplies and some inspiration, you can have a set of your own and a set to give!
Here’s What You Need…
Sponge Brush
Mod Podge (Matt or glossy)
Scrapbook paper/photos/washi tape
Arcrilic Sealer
Scissors
Felt tabs or small pieces of felt
*TIP- make one or more trips to Michaels with a 40-50% off coupon to get the best deals
*TIP- Lowes/Home Depot have the best tile prices (.16 cents each!)
Here’s The How To…
Step 1: Cut felt squares to hot glue to back of coasters
Step 2: Apply 1 coat of Mod Podge to front of tile
Apply a thin layer of Mod Podge to the front of each tile, making sure to spread it all the way to the edges. Not too much, not too little!
Step 3: Place photo/paper on the wet Mod Podge
Place a photo on top of the wet coat of Mod Podge from step 1. Smooth out gently, then apply a coat of Mod Podge evenly over the entire surface. Let dry for ten minutes.
Step 4: Apply 2nd coat of Mod Podge to front of tile
Apply another thin layer, making sure to wrap all the way around to the sides, and smoothing out the front. It’ll look very opaque until it dries, but rest assured that it will dry clear! Let coasters dry completly before applying finish.
Step 5: Spray with finish
Spray each tile from about 10 inches away in an easy back and forth motion. Optional to repeat.
Step 6: Let sit for 3 days before using
It’s normal for Mod Podge to feel tacky for several days after it dries. If you wait about 3 days, you’ll give the coasters plenty of time to seal completely & make sure no water will seep in.
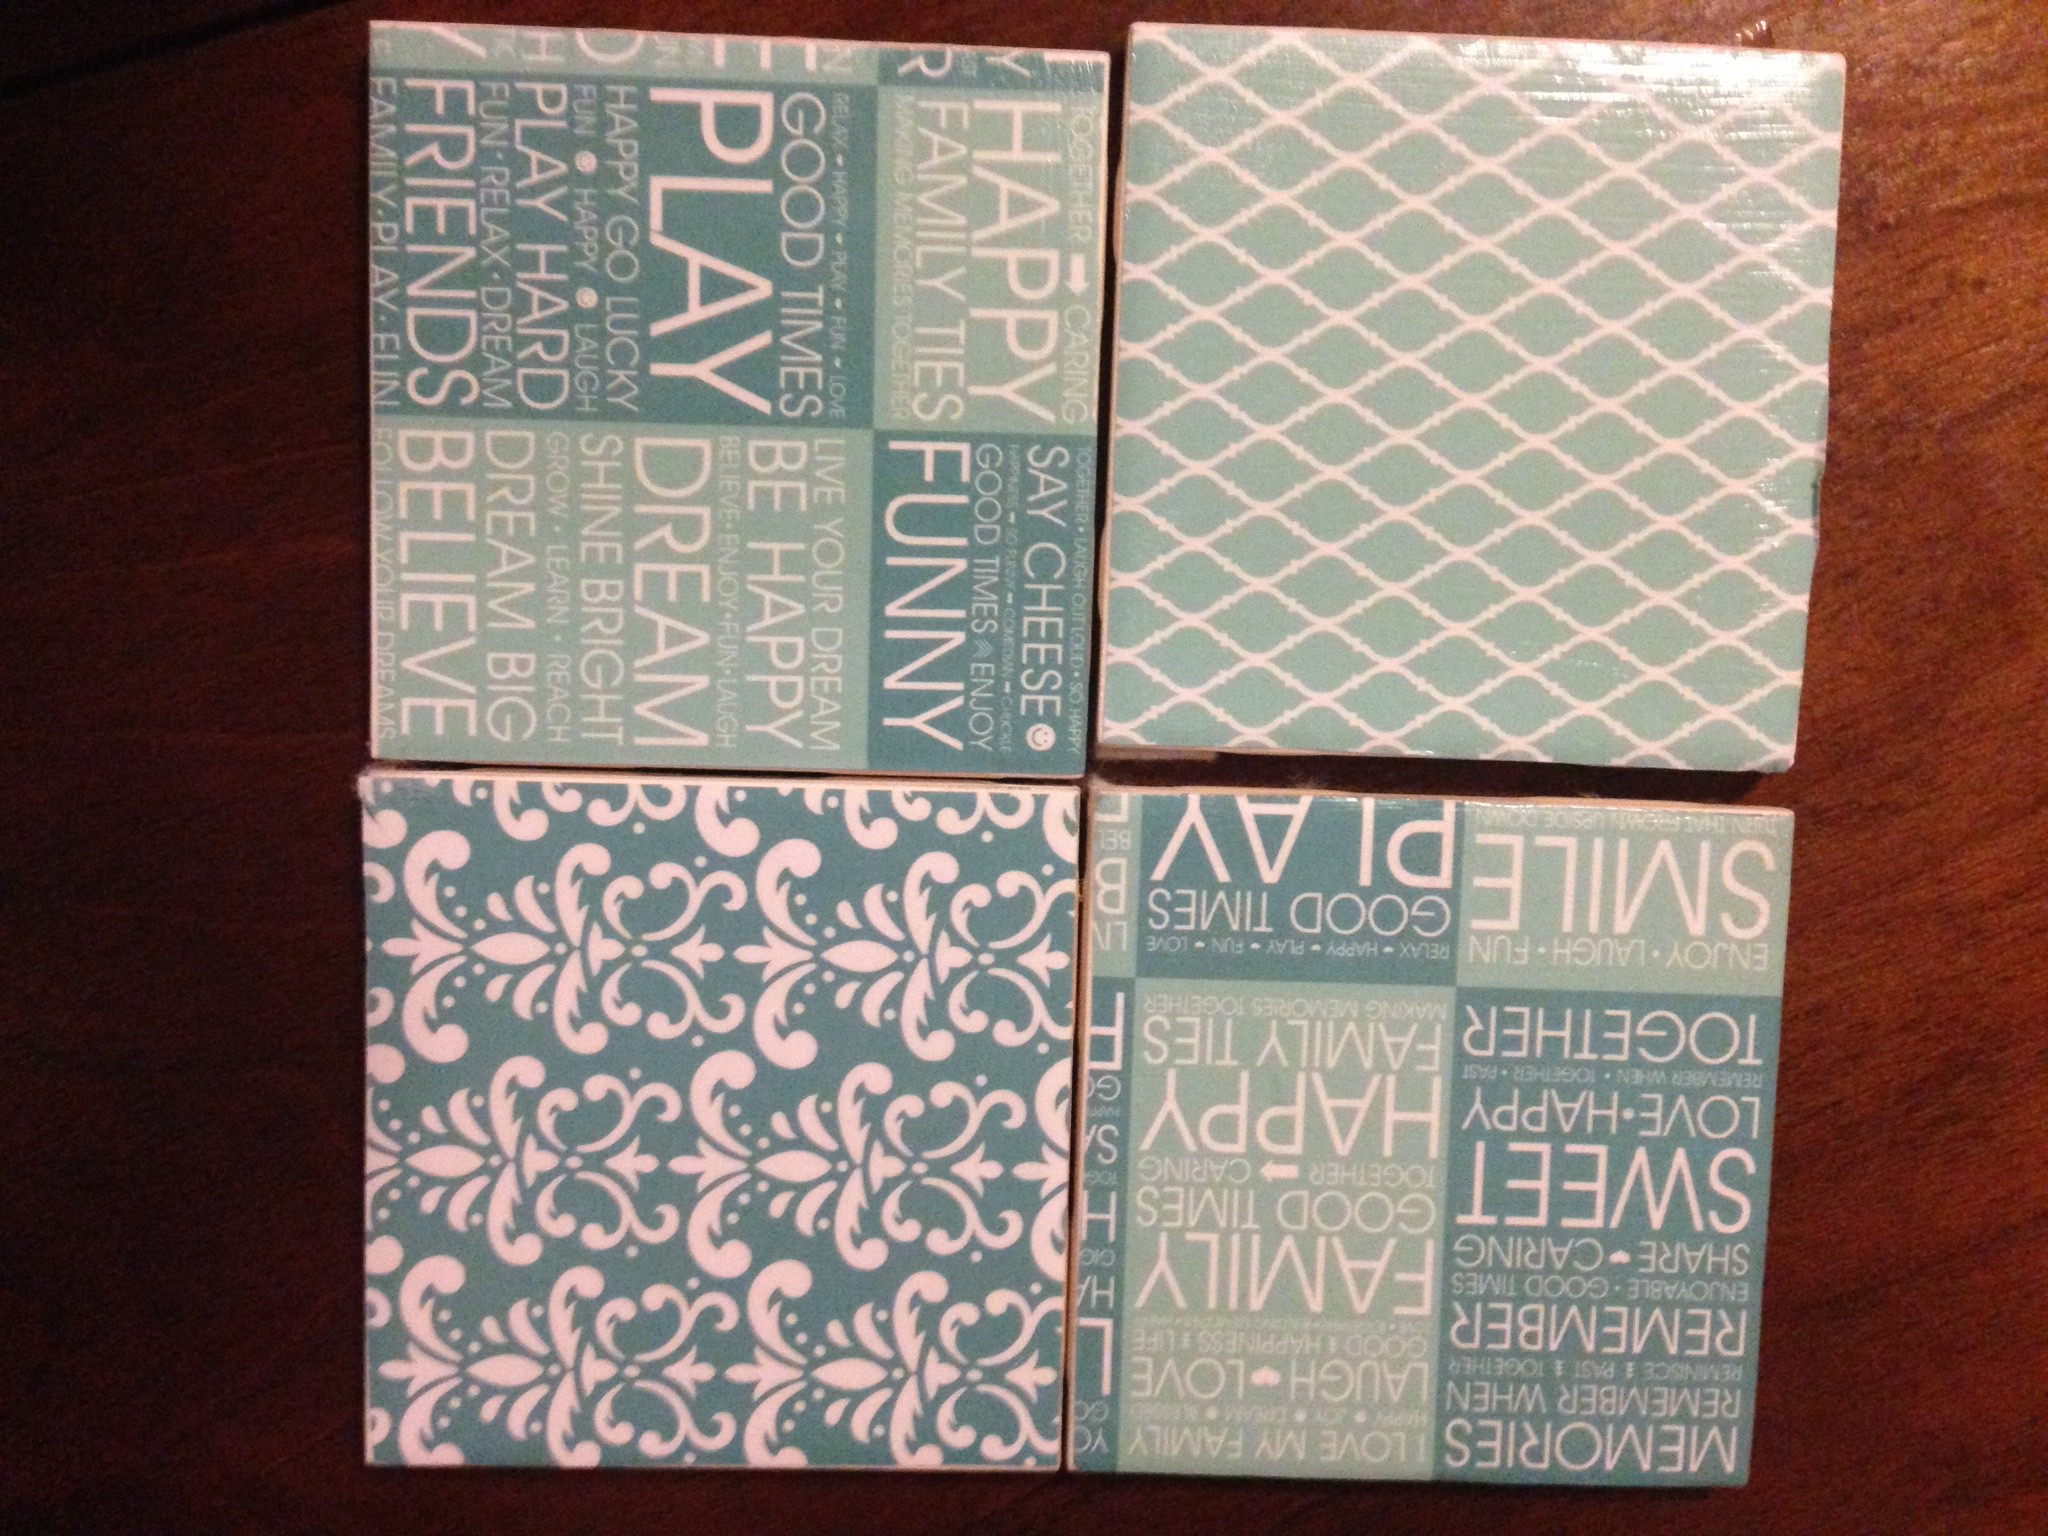
There you have it! It sounds a bit harder than it actually is. The end product is really pretty. I made a set of my own and gave one to my sister, who LOVED it! I’d love to see some that you have made, or hear any tips you may have.


I DO love it!!! They are so fun and match our family room perfectly. Thank you, Sister! And now I want to make some as gifts for people, too! Thanks for the DIY instructions, Robyn. You rock. <3
So happy you liked them 🙂 If you do make some, post some pics!